Change your camp's name, details and logo
Your camp and teamWhere Camp Settings is, what each tab holds, and who can change your camp's name, address, contact email, logo and other details.
Camp Settings holds your camp’s details, its logo, its join codes and its team. Anyone in the camp can open it. Camp Admins can change what’s there.
Open Camp Settings
- Open the camp menu at the top of the sidebar (it shows your camp’s name). On a phone, tap the navigation button at the top left first to open the sidebar.
- Choose Camp Settings.
Camp Settings belongs to the camp you have open. If you’re in more than one camp, switch to the right one first. See Switch between your camps.
The tabs
| Tab | What’s on it | Who can use it |
|---|---|---|
| Overview | Your camp’s name, contact details, address and logo, and a link to the Camp Profile. | Everyone sees it. Camp Admins can edit it. |
| Access | The join code and any extra join codes. See Invite your team with a camp code. | Camp Admins |
| Team | Everyone in the camp and their role, and leaving the camp. See Change someone’s role or remove them. | Camp Admins manage the team. Everyone can leave. |
| Applications | The partner programs and grants your camp has applied for, and where each one stands. | Everyone |
| Learning | The courses your camp has asked its team to complete, and how far people have got. | Camp Admins only |
A Camp Member who opens Access or Team sees a For Camp Admins card telling them to ask a Camp Admin instead. The Leave this camp card on the Team tab is there for everyone. See Leave a camp.
Change your camp’s name and details
Camp Admins can do this:
- On the Overview tab, find the Camp Overview card.
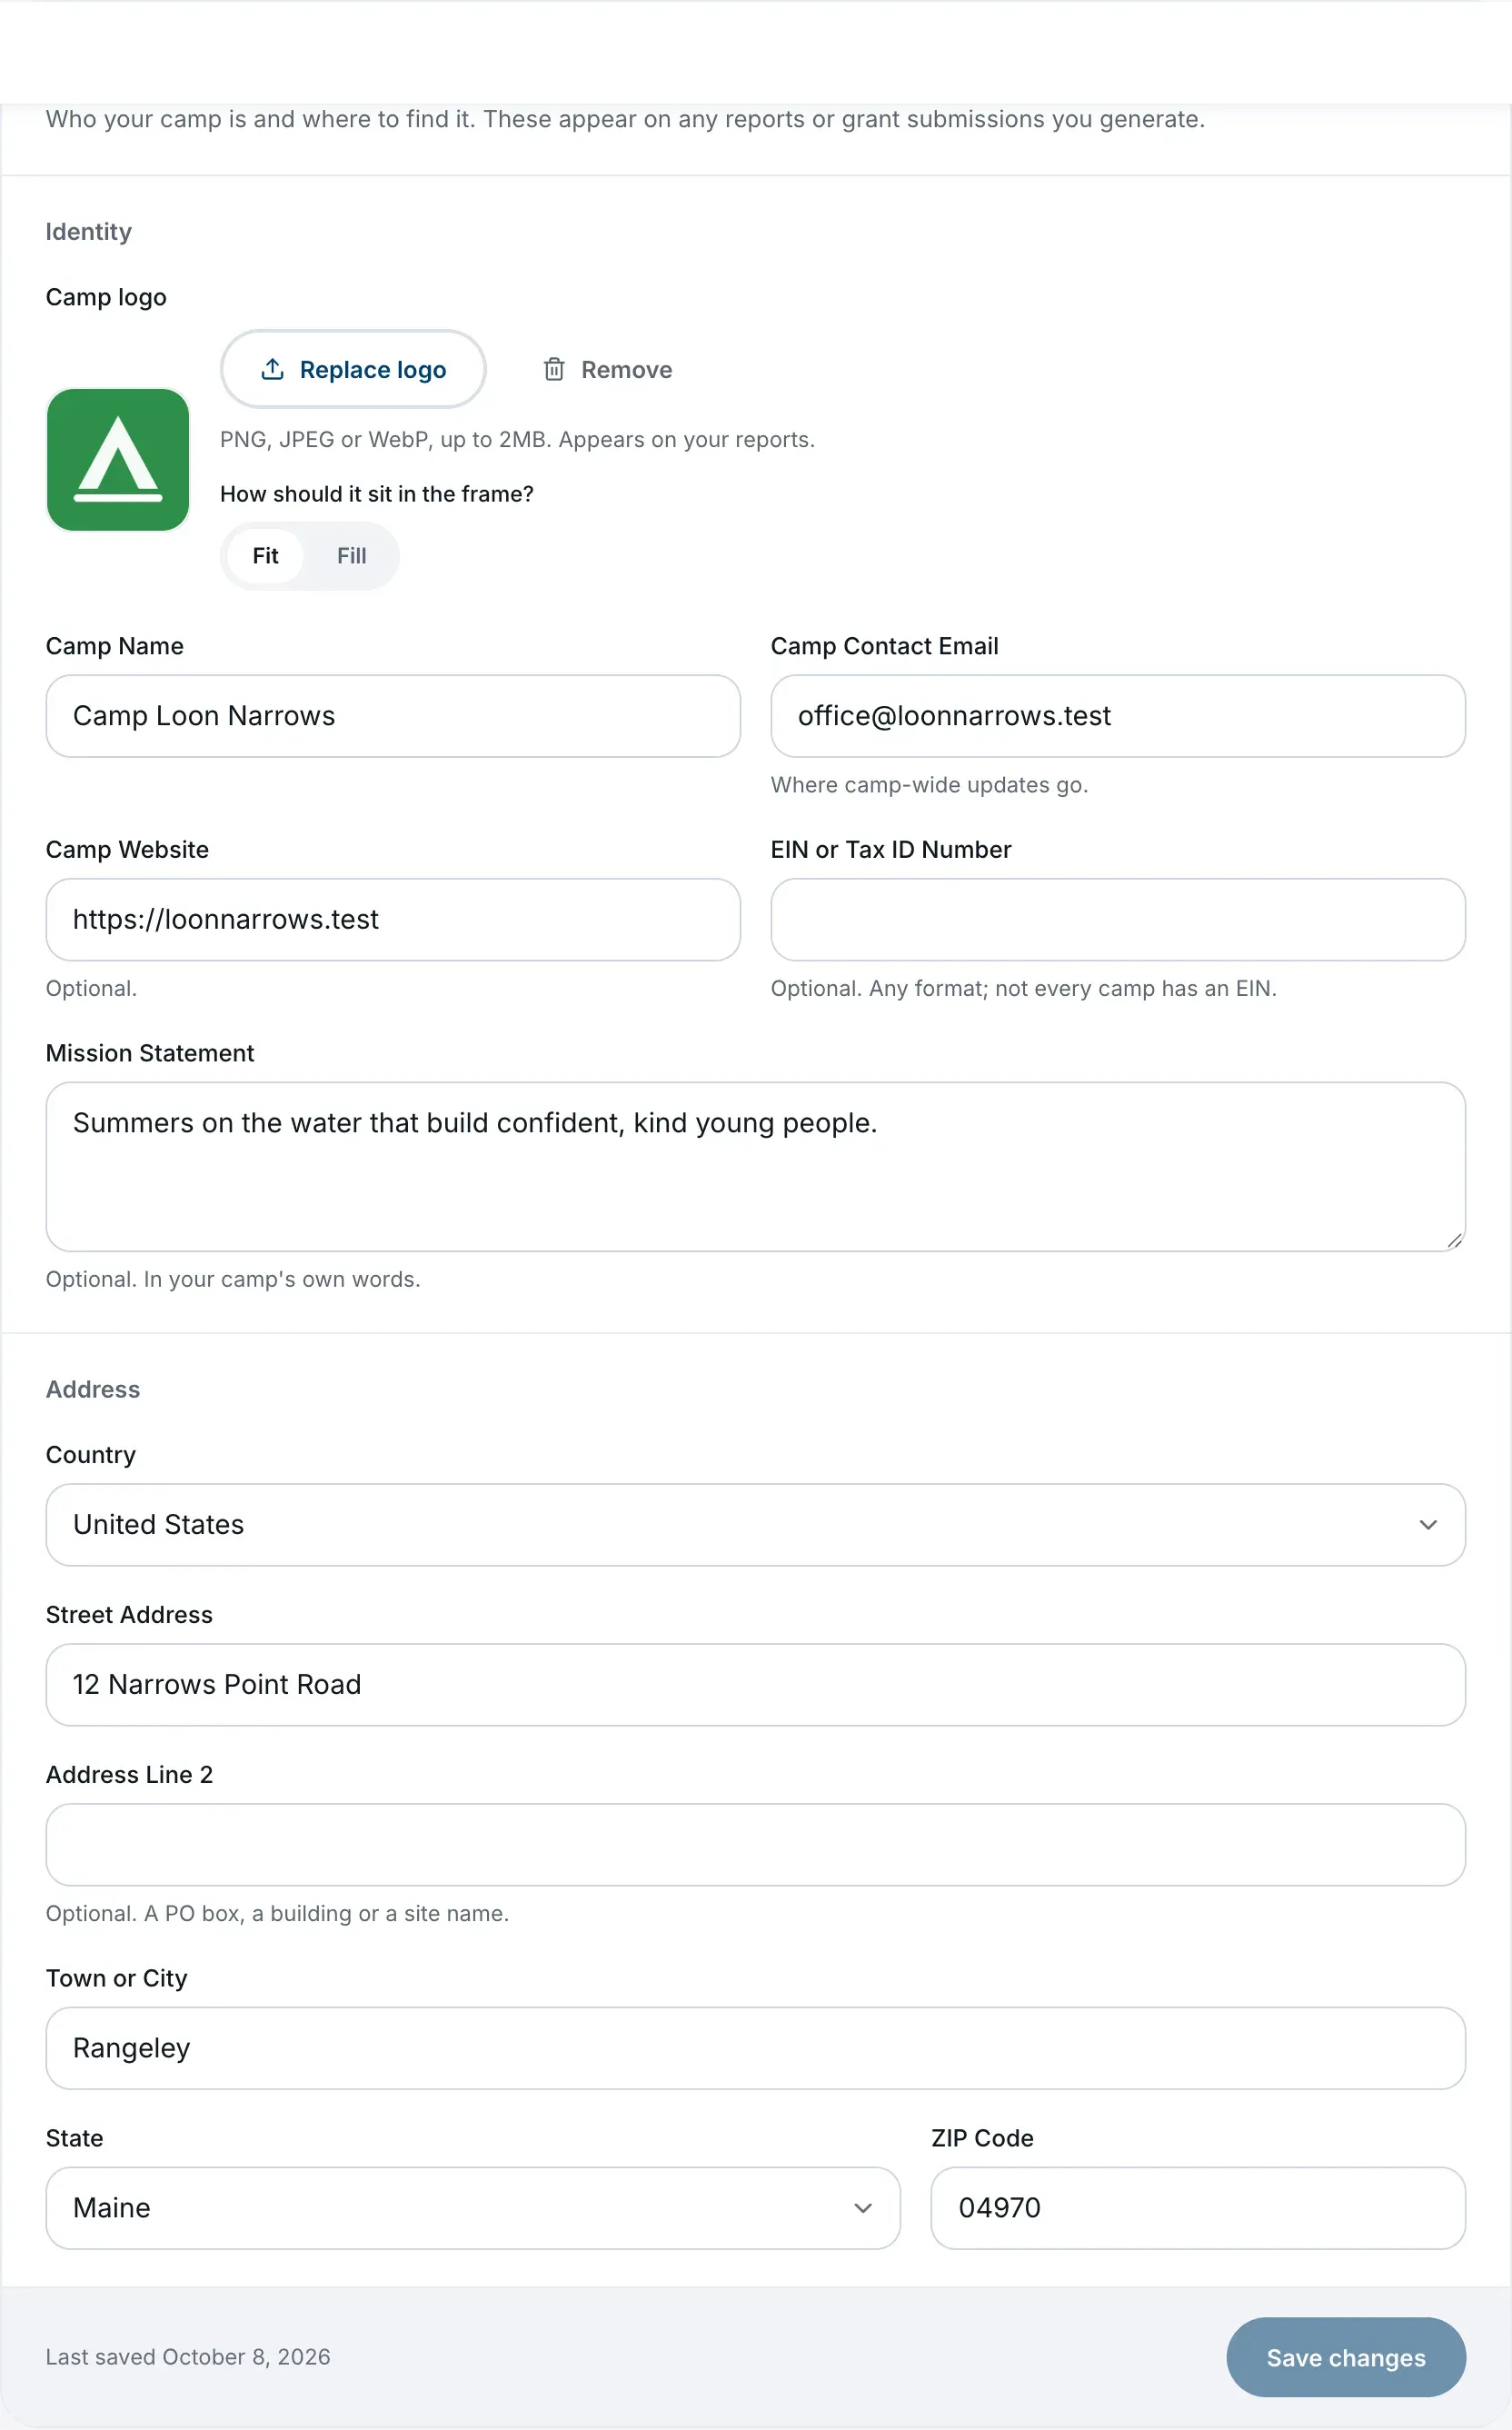
- Under Identity, change any of: Camp Name, Camp Contact Email, Camp Website, EIN or Tax ID Number and Mission Statement.
- Under Address, change your camp’s address.
- Choose Save changes.
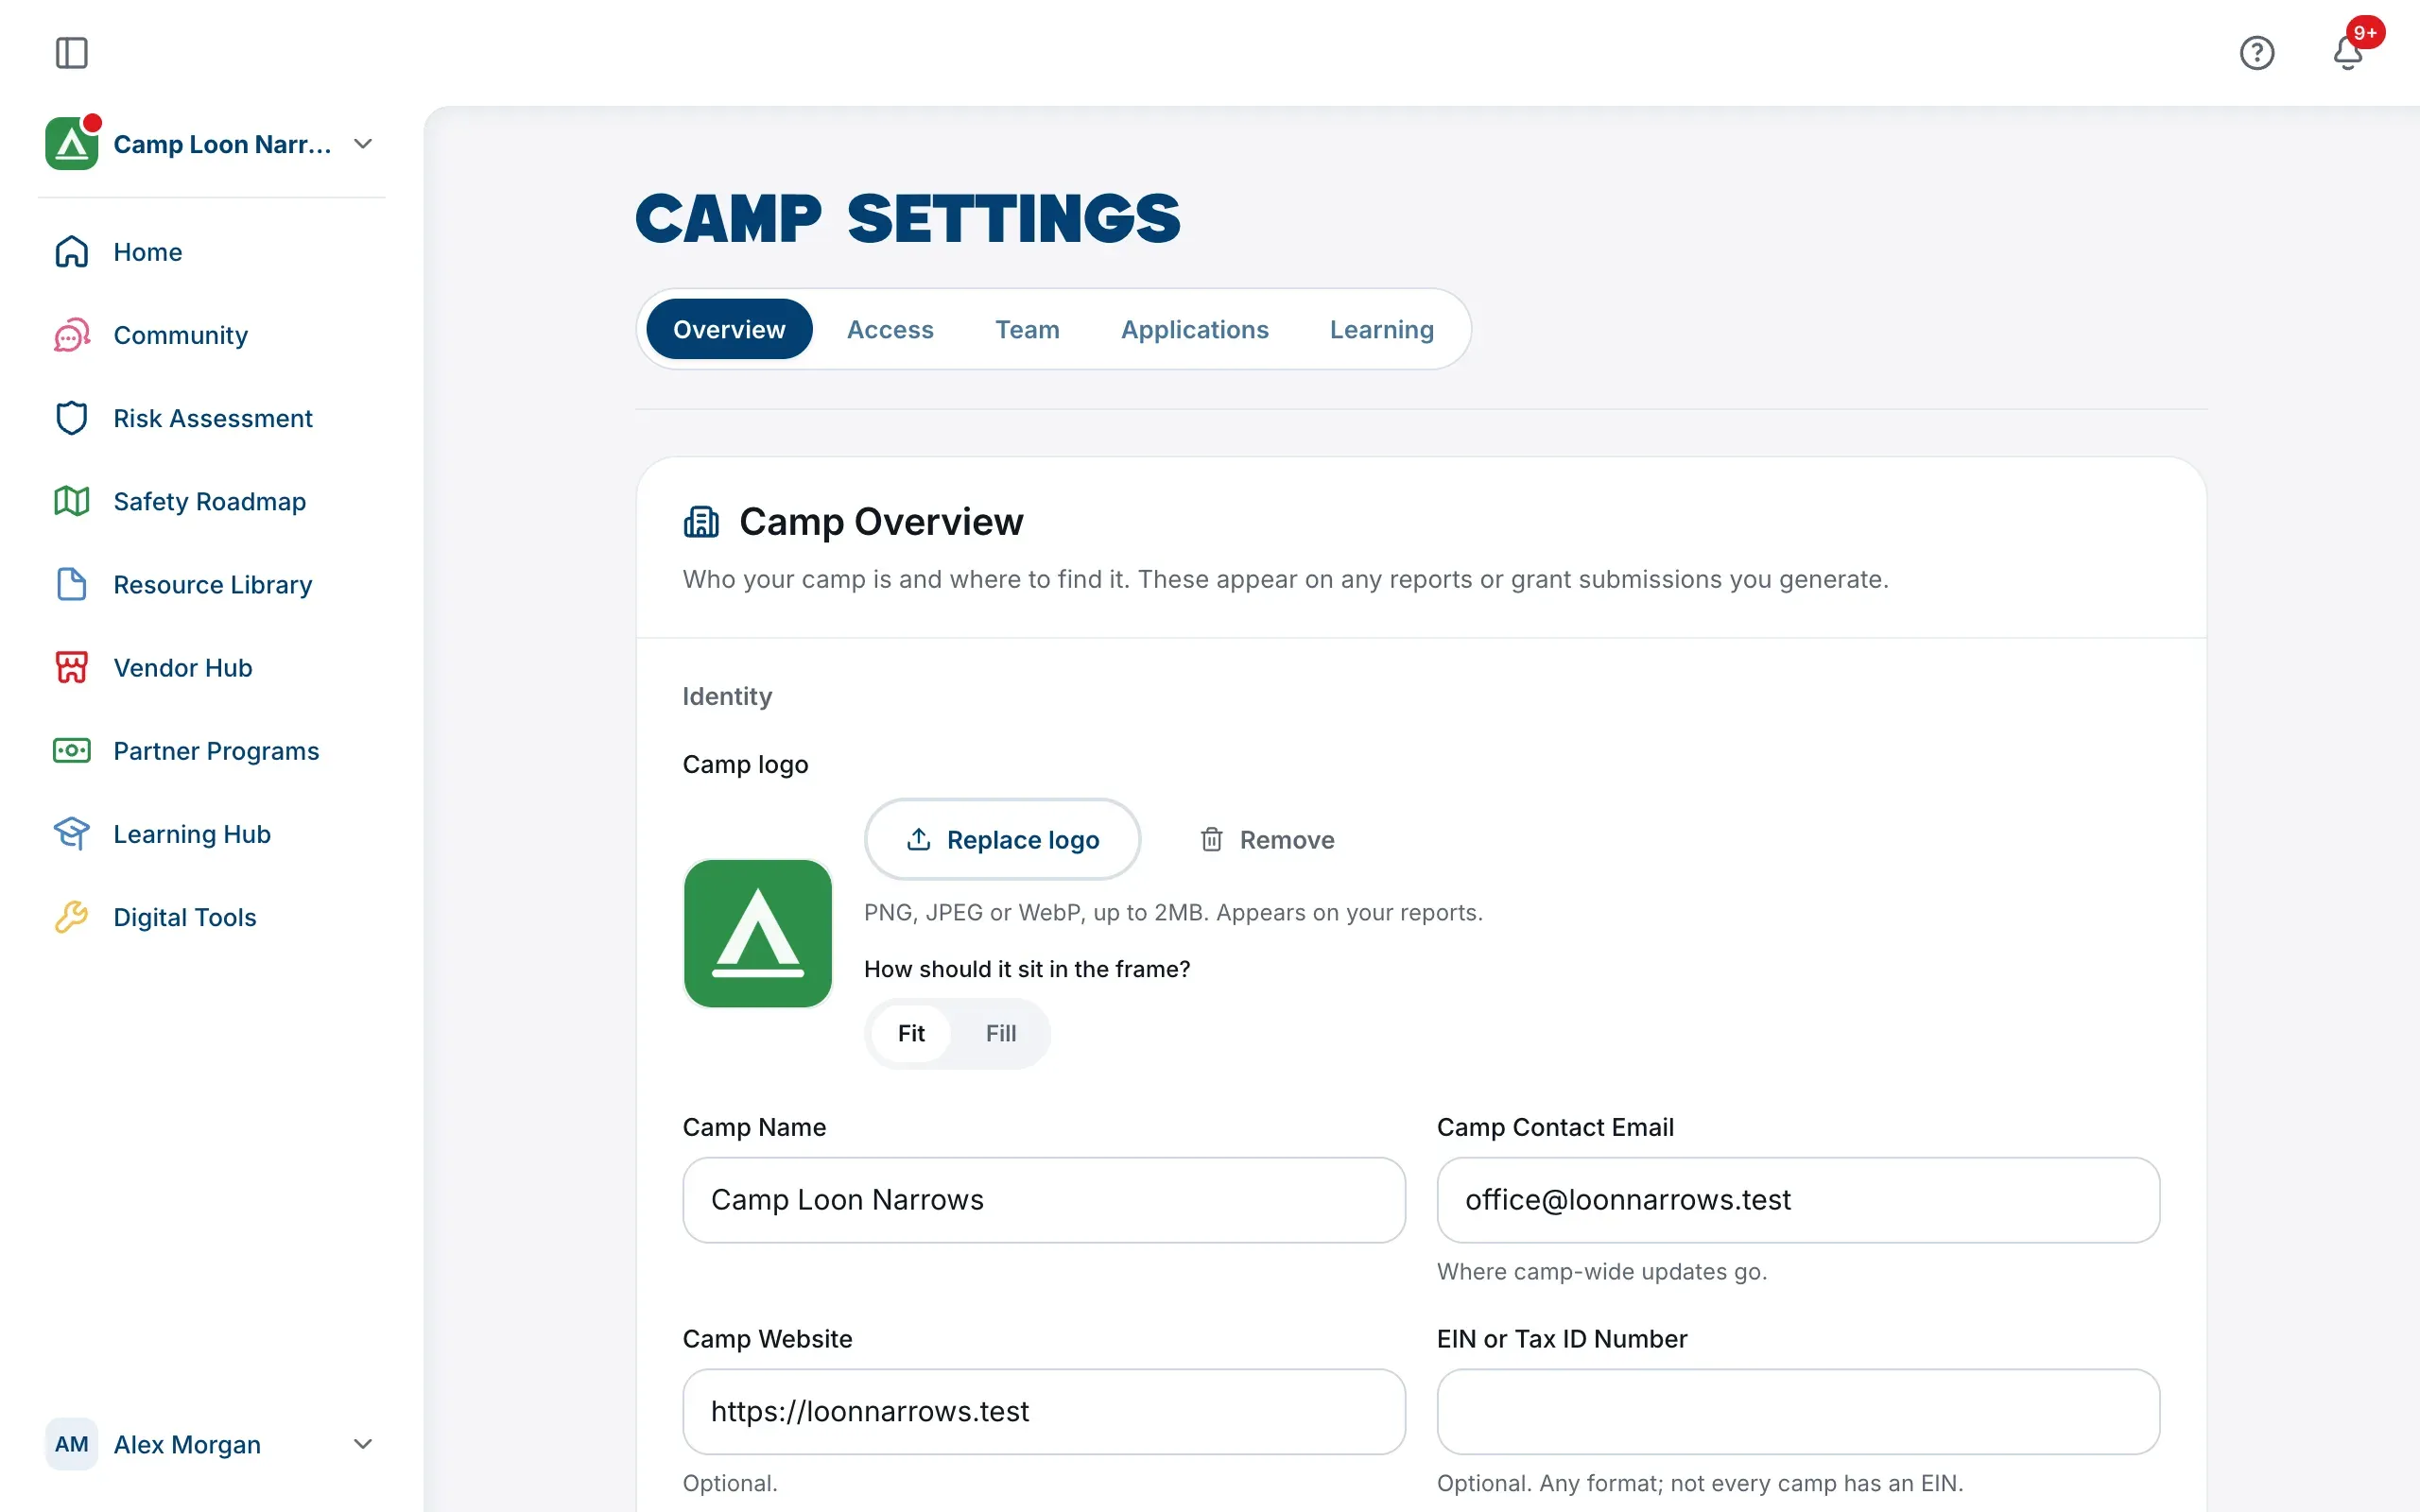
This form doesn’t save as you type. Nothing changes until you choose Save changes, and you’ll see Camp details saved. when it has. The bottom of the card shows when the details were Last saved.
These details appear on any reports and grant submissions you generate, so use your camp’s official name. A few rules:
- The camp name needs between 2 and 120 characters.
- The website must start with
https://orhttp://. - The address asks for what your country’s addresses need.
Add or change your logo
Camp Admins can do this, on the Overview tab under Camp logo:
- Choose Upload logo (or Replace logo if there’s one already).
- Pick a PNG, JPEG or WebP image, up to 2MB.
The logo saves as soon as it uploads. You don’t need Save changes for it.
Once you have a logo, choose how it sits in its square, under How should it sit in the frame?:
- Fit shows the whole logo.
- Fill fills the square, cropping the edges.
Choose Remove to take the logo off. Your logo appears on your reports, and as your camp’s badge in the sidebar and the camp menu. Without one, the badge shows your camp’s initials.
What Camp Members see
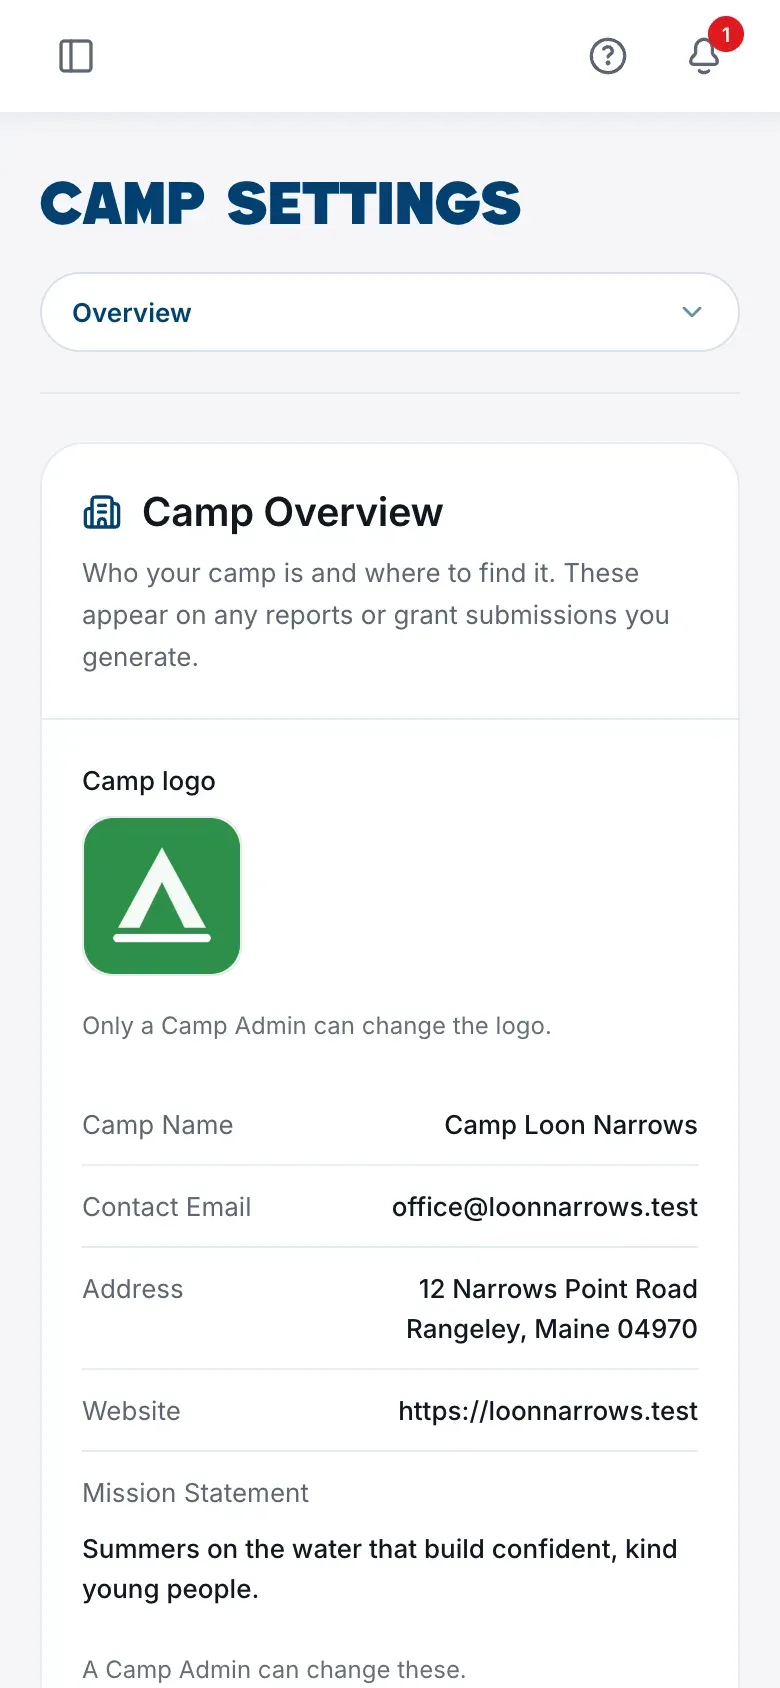
A Camp Member sees the camp’s name, contact email, address, website and mission statement as a list they can read but not change, with the note A Camp Admin can change these. The tax ID isn’t shown to Camp Members.
If something is wrong, ask one of your camp’s Camp Admins. See Who can do what in your camp.
The Camp Profile is separate
The Camp Profile card on the Overview tab is a door to a different page: the questions about what your camp runs, your setting, facilities and people, which the risk assessment reads. Camp Admins and Camp Members can both fill it in. See Fill in your Camp Profile.
Looking for the Home color?
It isn’t in Camp Settings. Each person picks their own Home Color on their Profile page, so changing yours doesn’t change anyone else’s. See Your profile.