Set up your camp
Getting startedAdd your camp to the platform, fill in its official details, and share the join code so your team can join you.
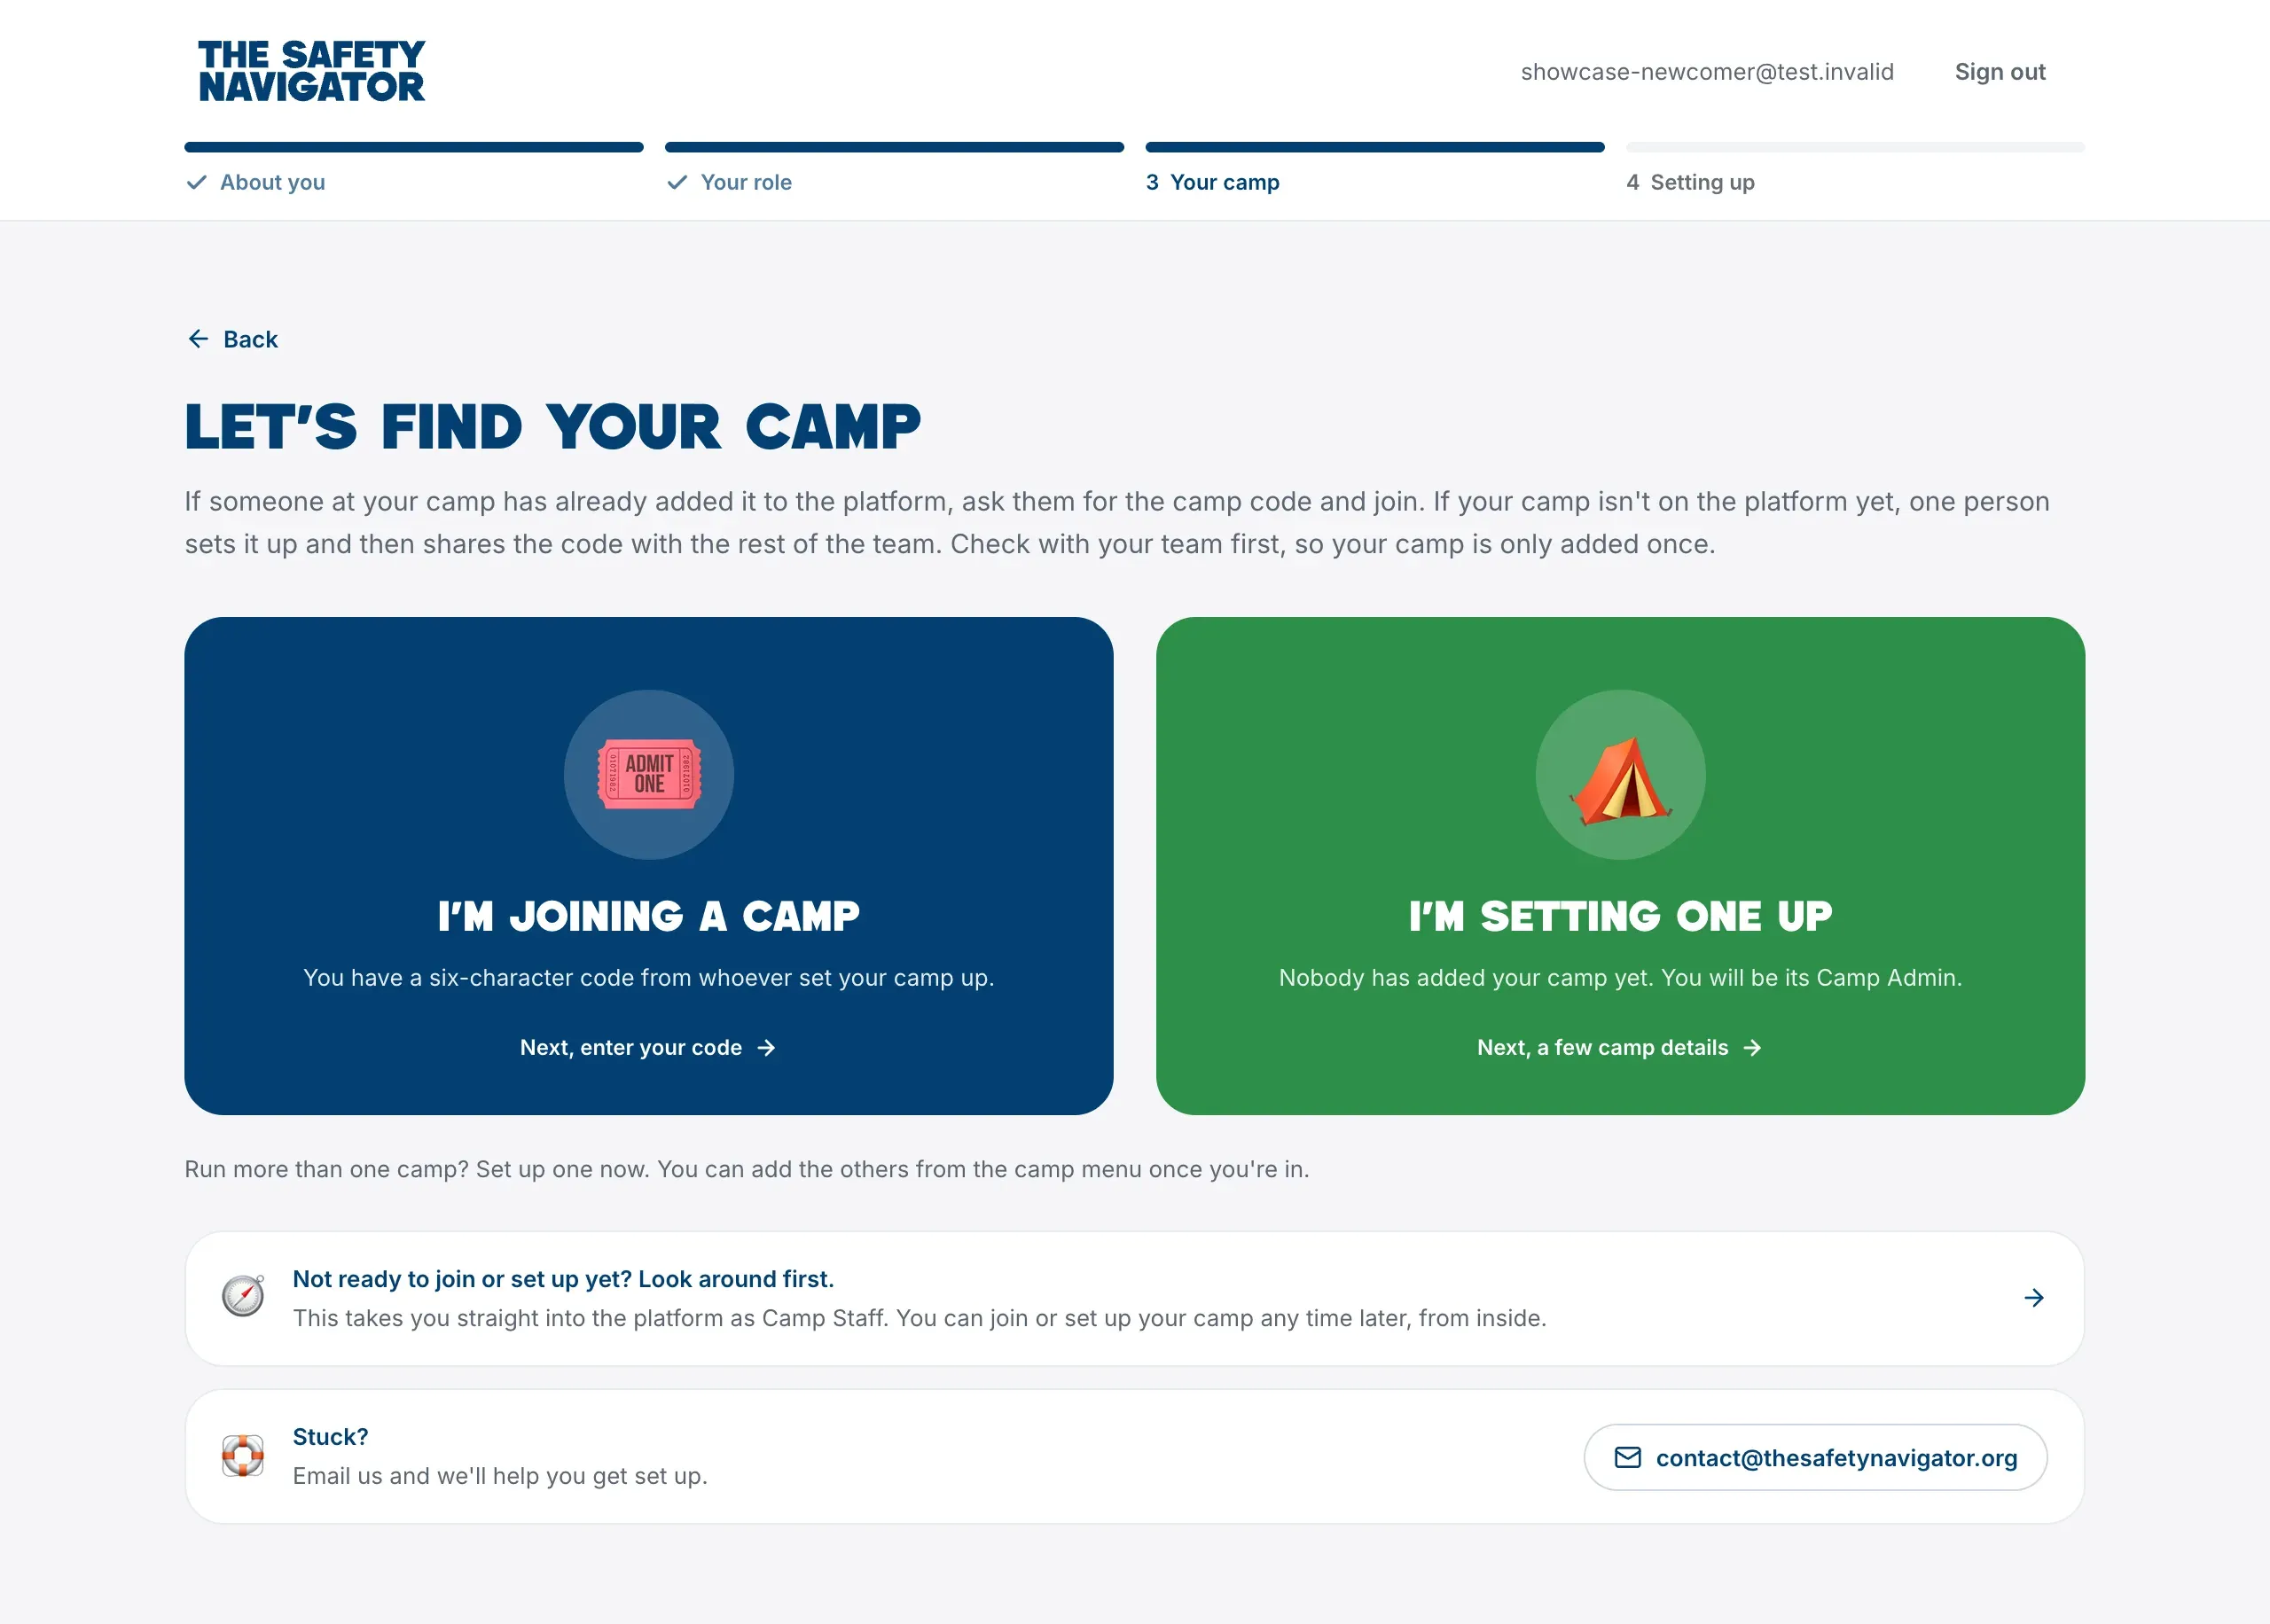
If nobody at your camp has added it to The Safety Navigator yet, one person sets it up and then shares the camp’s join code with the rest of the team. Whoever sets it up becomes its first Camp Admin.
Check with your team first. If someone has already added your camp, join it with their code instead. See Join your camp with a camp code. Two copies of the same camp is the most common problem we help with.
Where to start
Anyone can set up a camp, whatever role they picked when they signed up. Setting one up adds Camp Staff to the roles on your profile. See Your profile and roles.
- While signing up: on Let’s Find Your Camp, choose I’m setting one up.
- From inside the platform: open the camp menu at the top of the sidebar and choose Create a Camp (or Create another camp if you’re already in one). You can also use Set up your camp on your Home page, Create a camp on any page that needs a camp, or Set it up instead on the Join a camp page.
Fill in your camp’s details
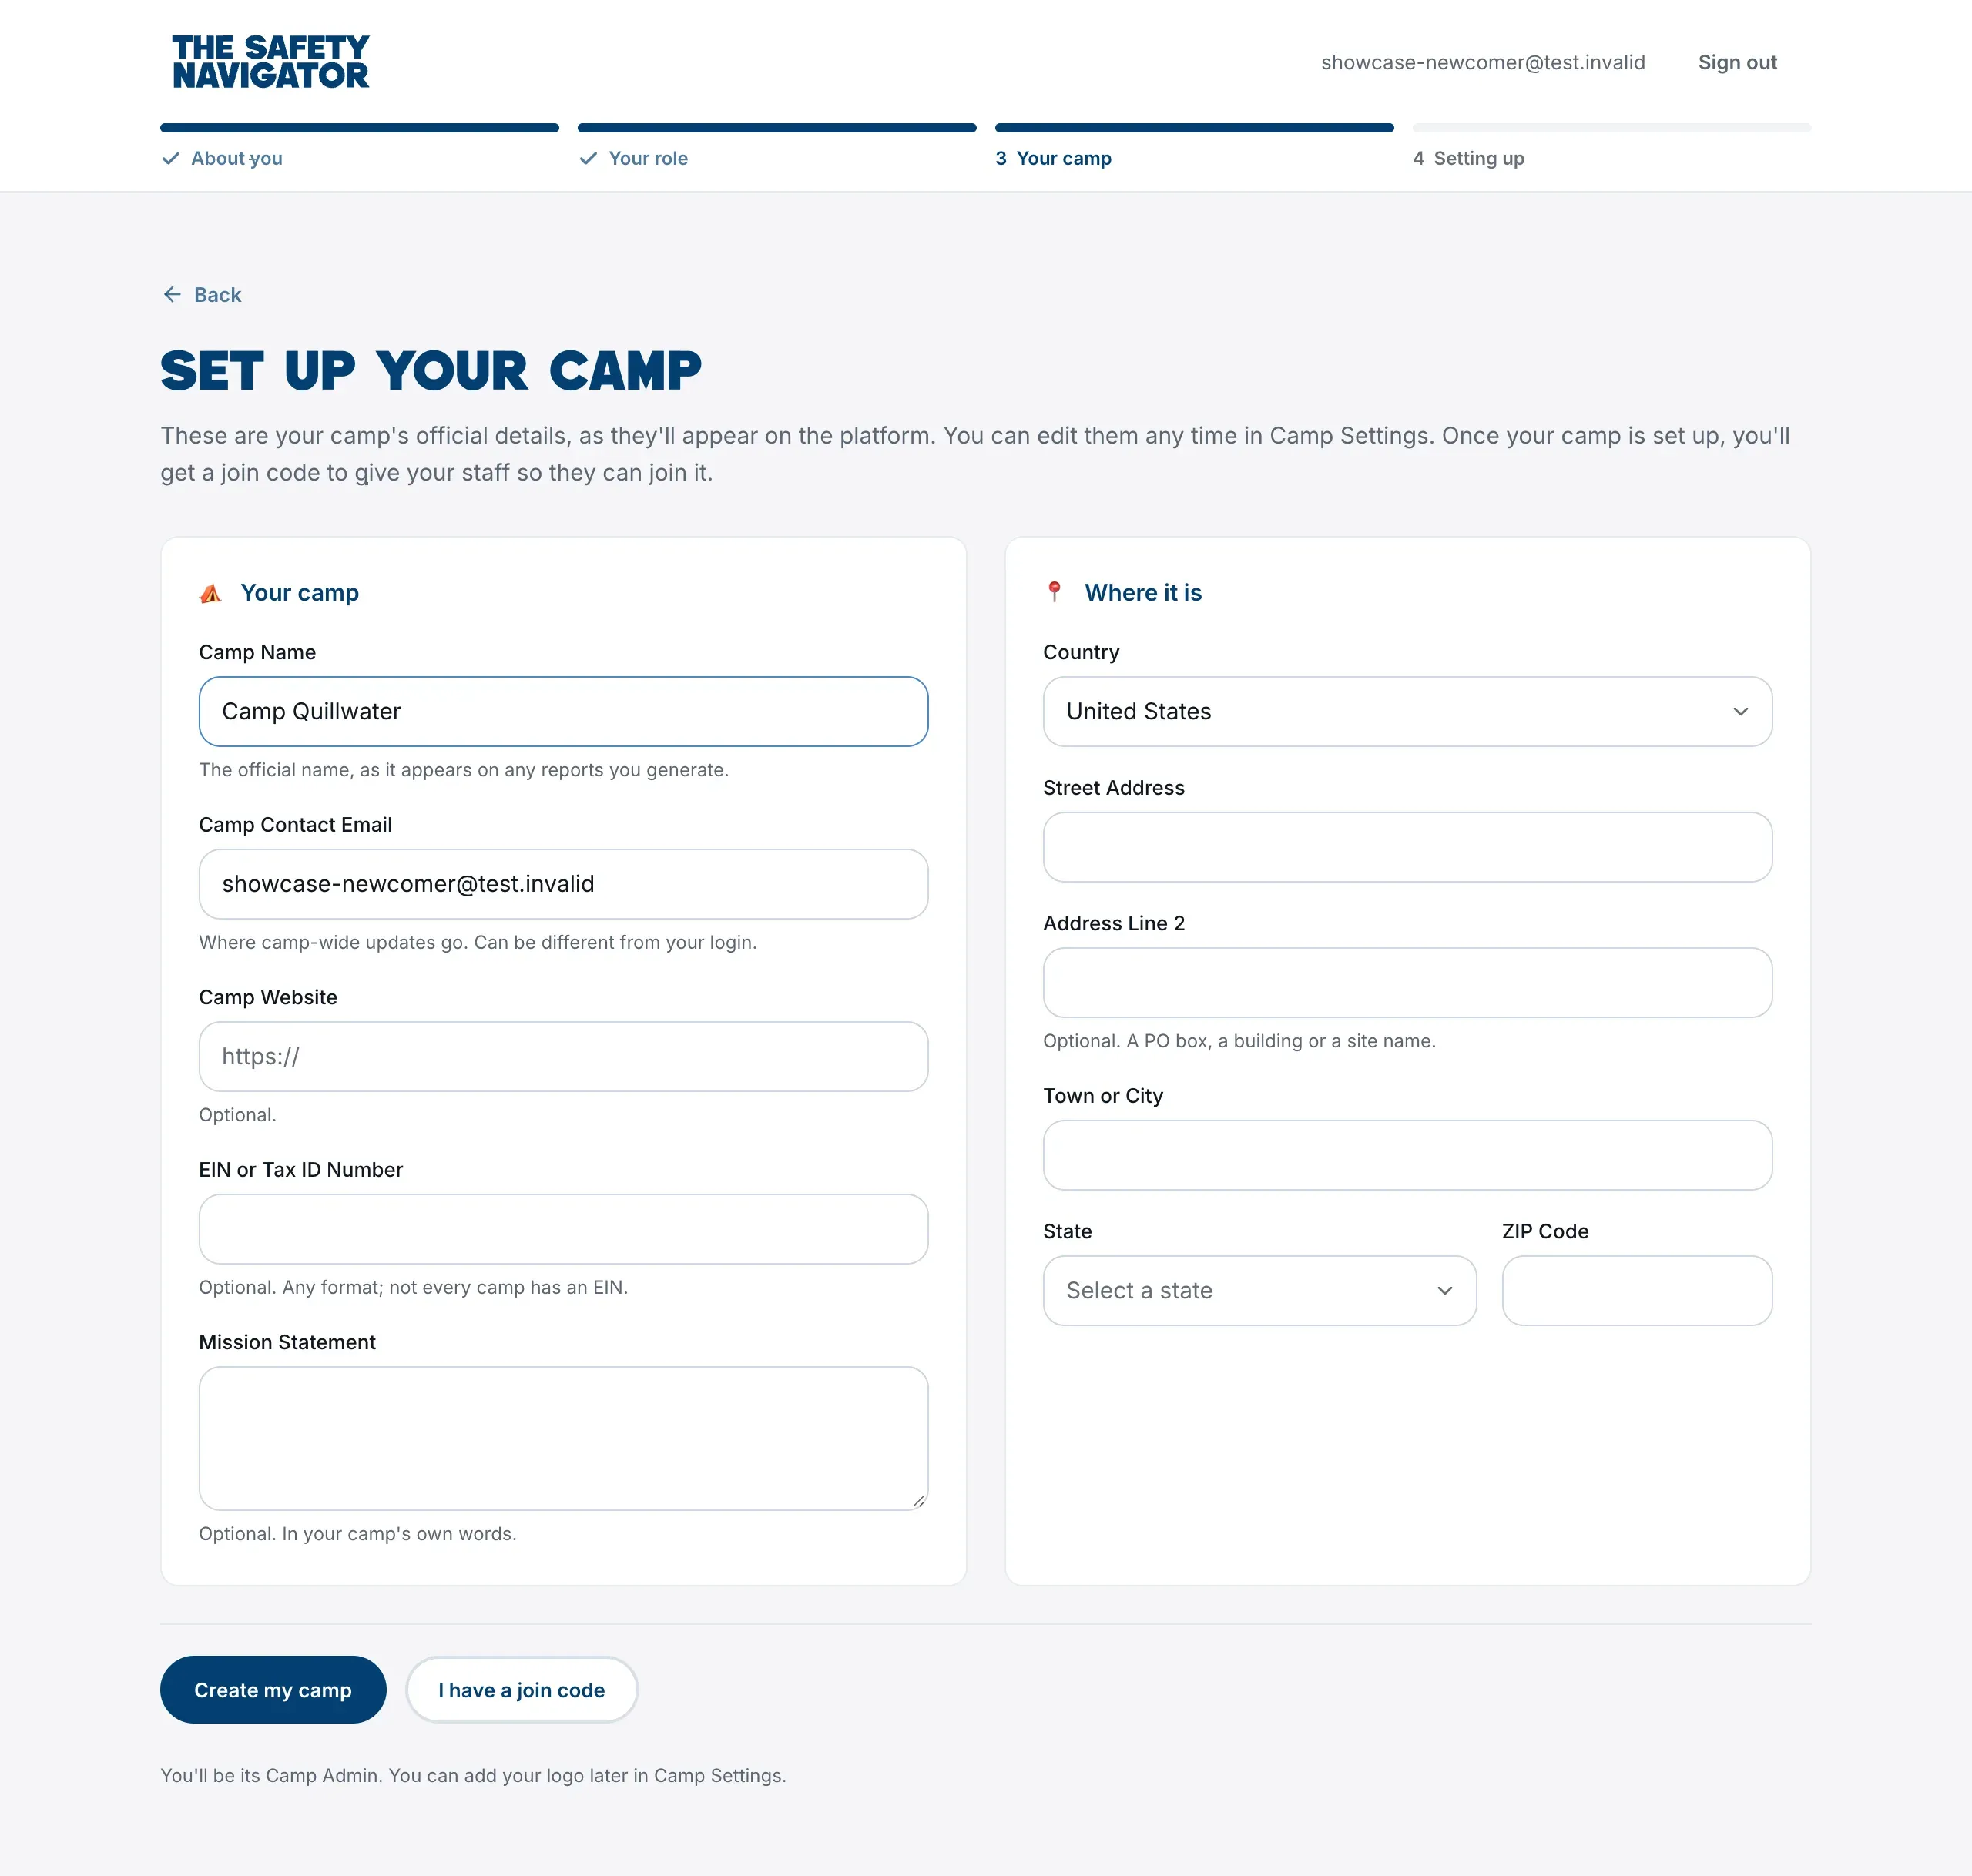
The form is called Set Up Your Camp during sign-up and Create a camp inside the platform. It’s the same form either way. These are your camp’s official details, and you can edit them any time in Camp Settings.
Under Your camp:
- Camp Name (needed): the official name, as it appears on any reports you generate.
- Camp Contact Email (needed): where camp-wide updates go. It starts as your own sign-in email, but it can be a shared camp address.
- Camp Website (optional): starting with
https://orhttp://. - EIN or Tax ID Number (optional): in any format. Not every camp has an EIN.
- Mission Statement (optional): in your camp’s own words, up to 2,000 characters.
Under Where it is, the camp’s address:
- Country, which starts as the United States.
- Street Address, and Address Line 2 if you need it (a PO box, a building or a site name).
- For a camp in the United States, Town or City, State and ZIP Code. For a camp elsewhere, the form asks for the parts of an address that country uses.
When you’re done, choose Create my camp. If you realize you have a code after all, choose I have a join code to go to the join screen instead.
You don’t need a logo yet. You can add one later in Camp Settings.
What happens after you create it
You’ll see your camp being set up for a few seconds, then your camp’s Home page opens with a little celebration and a note that says That’s your camp set up.
Just below it is the Invite your team. banner, with your camp’s six-character join code and a Copy button. Share the code with your leadership team so they can join and work on the same safety plan. Choose Got it to put the banner away.

You can find the code again at any time: open the camp menu, choose Camp Settings, then the Access tab.
Setting up a second camp
If you run more than one camp, set up one first. Once you’re in, you can add the others from the camp menu with Create another camp. Each camp gets its own join code, team and work, and the camps you already had stay just as they were. See Work in more than one camp.
The platform won’t let you create a second camp with the same name and ZIP or postal code as one you’re already in. If you see You’re already in a camp with this name and postcode, open that camp from the camp menu instead.
The duplicate check
The Safety Navigator does a quick check on every new camp to catch duplicates. While it’s happening, Camp Admins see a Checking for duplicates note on Home. Nothing is waiting on you and nothing is limited, so you have full use of the platform.
Next steps
- Answer the questions on Camp Profile, in the camp menu. Your answers decide which risks your assessment shows you.
- Start your risk assessment. See Start your risk assessment.
- Invite your team. See Invite your team with a camp code.
- Decide who else should be a Camp Admin. See Who can do what in your camp.